

Cast Iron Chicken Kebab – AKA: No Grill Grilled Chicken
Food really does taste better on a grill. While gas grills are pretty nice, there’s nothing like standing next to an open fire fueled by mesquite charcoal chunks. The aroma alone means something great is coming up. But, what if you don’t have access to an outdoor grill? Many of us who live in cities, like myself, live in apartments with only a teensy balcony where grills aren’t allowed. Sad times. Sad times had by all. What if you do, however, have a cast iron skillet? Then don’t fret, we’ve got the next best thing!
While you still won’t get the full smokey flavor of a fire grill, one can still attain a similar great charred flavor with cast iron. This recipe is part of a much larger recipe in total. The theme is greatly influenced by Greek/Eastern Mediterranean fare and can be found in these other links:

(Serving Size – 3 or 4…or 2 Mes)
- 12 in. Cast Iron Skillet
- 6 Boneless/Skinless Chicken Thighs
- 1 cup Whole Milk Greek Yogurt
- 1 tsp. Cumin
- 1 tsp. Paprika
- 6 Cloves Garlic, minced
- ½ tsp. Sea Salt
- ½ tsp. Fresh Ground pepper
- 2 tsp. Lemon Juice
- 2 tsp. Extra Virgin Olive Oil
- 1 Large Red Bell Pepper
- 1 Large Orange Bell Pepper
- 2 Large Zucchini
- 1 Large Red Onion
- 2 Tbsp. Neutral Oil
Get your char on:
1.) I chose to go with bone-in chicken thighs with skin and just cut ‘em up myself. They’re like, half the price, and you can always keep the cuttings and make some delicious fried crispy chicken skin on the side. So now that we have our new-fangled boneless and skinless chicken thighs, go ahead and cut them up into 1.5 inch cubes (they get down to about an inch after cooking.)

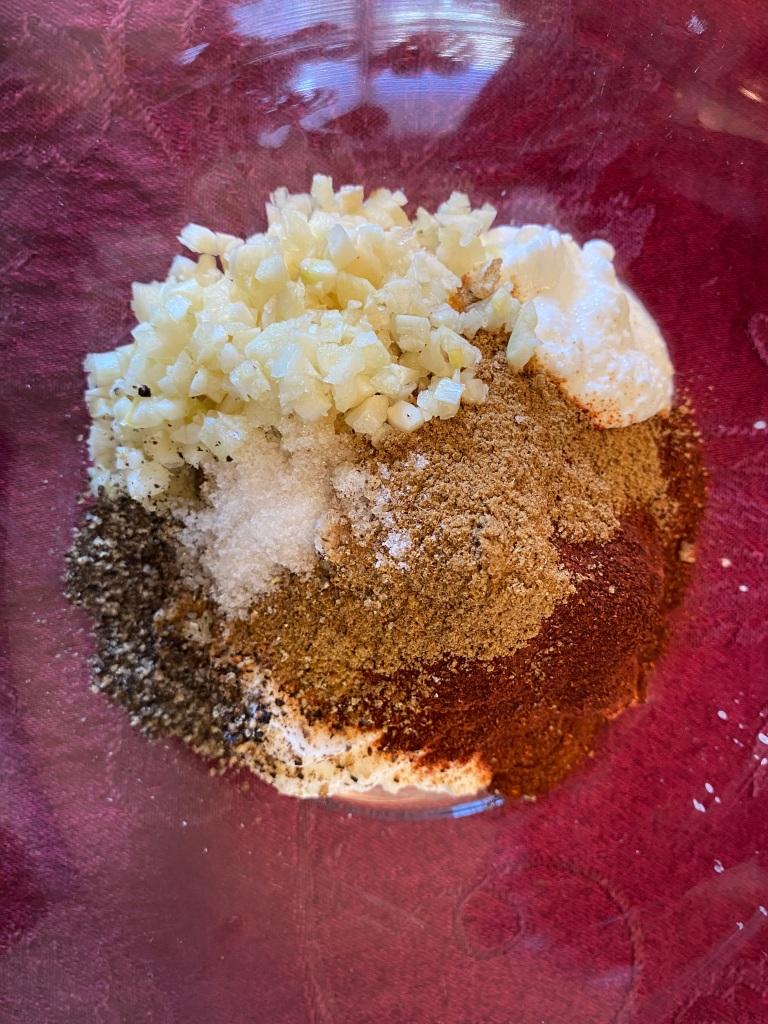
2.) Next, Prepare the marinade. Slap 1 cup of yogurt into a mixing bowl, then add the minced garlic, cumin, paprika, salt, pepper, lemon juice and olive oil. Give it all a thorough mix.
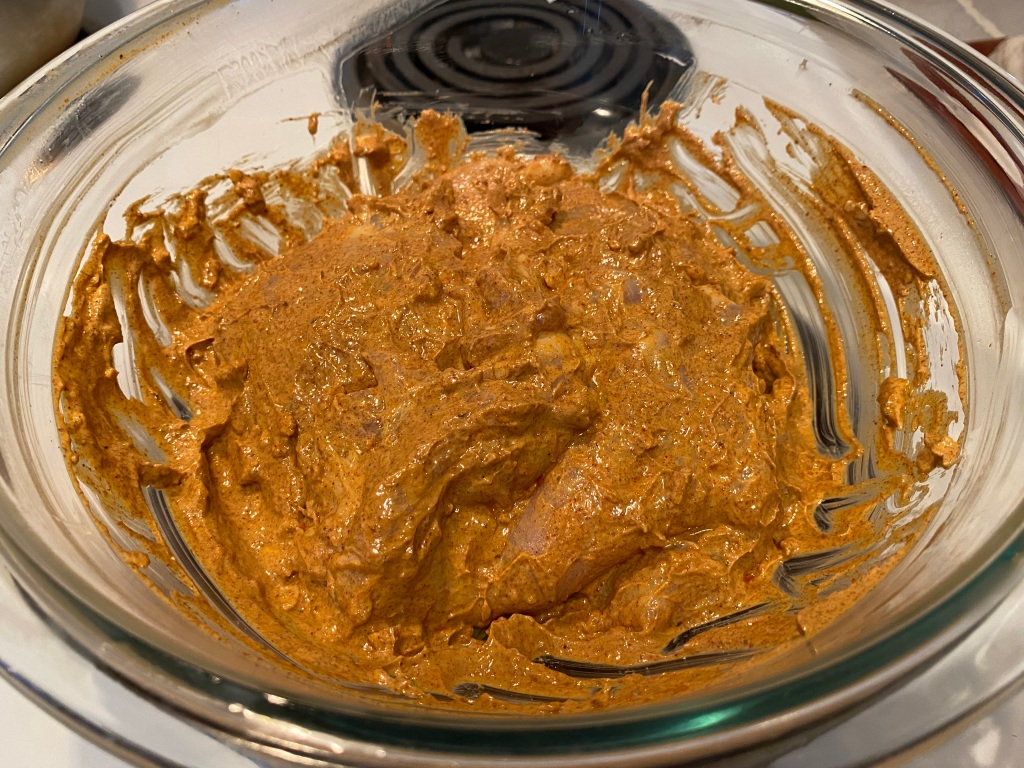
3.) Add the chicken cubes into the mixture and coat everything evenly. You’re now going to cover with a lid or plastic wrap and stick it in the fridge for an absolute minimum of one hour (boring) or up to eight hours (exciting). In the meantime, you can go for a day hike, tend to your city apartment balcony’s small garden and scream at those little white flies that love your small olive tree so much, or visit your mom and fix her internet or whatever.
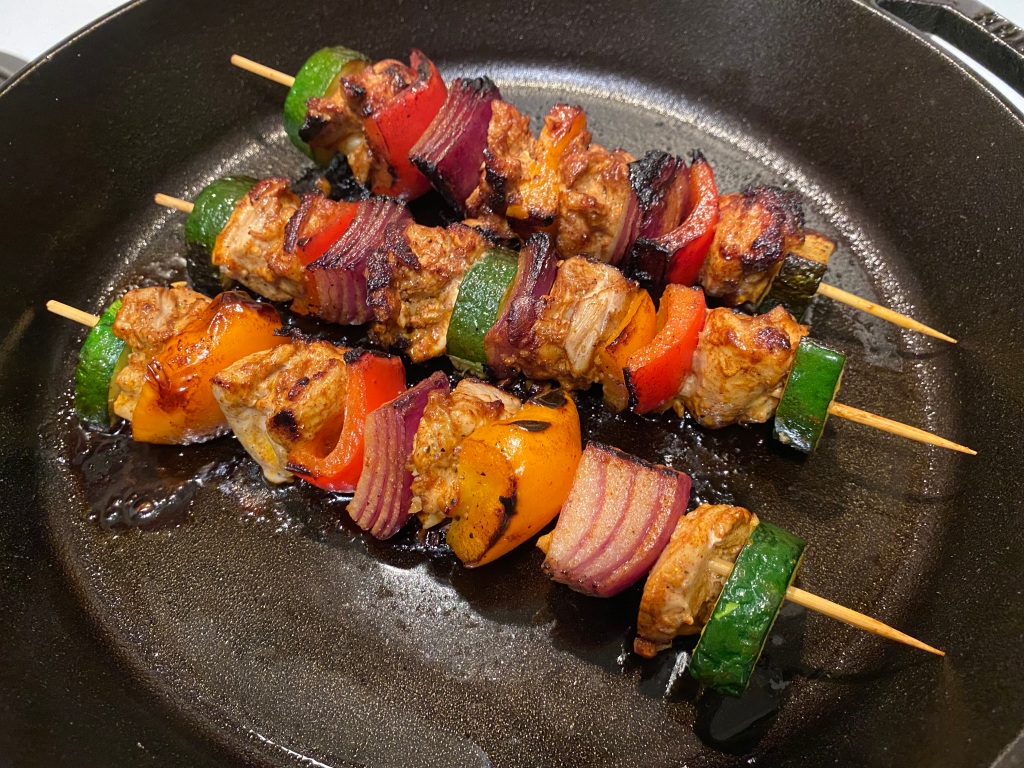
4.) Chop up all your veggies to your liking and make sure they won’t fall off the skewers. There are other resources on how to properly shape your veggies for skewered consumption; best to look those up beforehand. Let’s now preheat that 12 in. cast iron skillet to medium/high. Every stovetop is a bit different, a 7/10 on mine is where it works for me. Don’t forget to add your cooking oil (I use avocado) and then preheat the oven to 400 F (200 C). Once all your veggies are chopped up, grab the chicken and veggies and load up each skewer with alternating ingredients.

5.) You’re going to want to char every side of the skewers, so let each side spend 2.5 minutes on the medium-high heat in the cast iron pan. So, even after 10 minutes total, not everything will be fully cooked. Now you can just take your magical cast iron pan and put it straight into the oven that’s been ready at 400 F. Don’t burn your hand on the pan like a jerk, so use pot holders or a towel or a silicone handle if you have one. Again, everyone’s oven will be slightly different, but 8 minutes in that sucker will finish off everything nicely. Take it out, let everything sit in the pan for 5 minutes, then serve!
If you make the tzatziki and hummus mentioned above, or just cheat and buy some, feel free to dip every bite into either dip. The tzatziki is my favorite because the cool, creamy cucumber really pairs nicely with the charred flavor of the chicken. Enjoy!

Leave a comment