

(Not Ike’s) Dutch Crunch Salami Sandwich – AKA: Closer to Molinari’s Salami Sandwich I Think
If you’re not from the Bay Area, you might be asking, “What the heck is Dutch Crunch?” Growing up in San Francisco, I had no idea this wasn’t a thing everywhere, it was just bread to me, just like our famous sourdough. NOT SO! There are many apocryphal stories as to its origin, but one thing is for certain, it’s a true San Francisco icon.
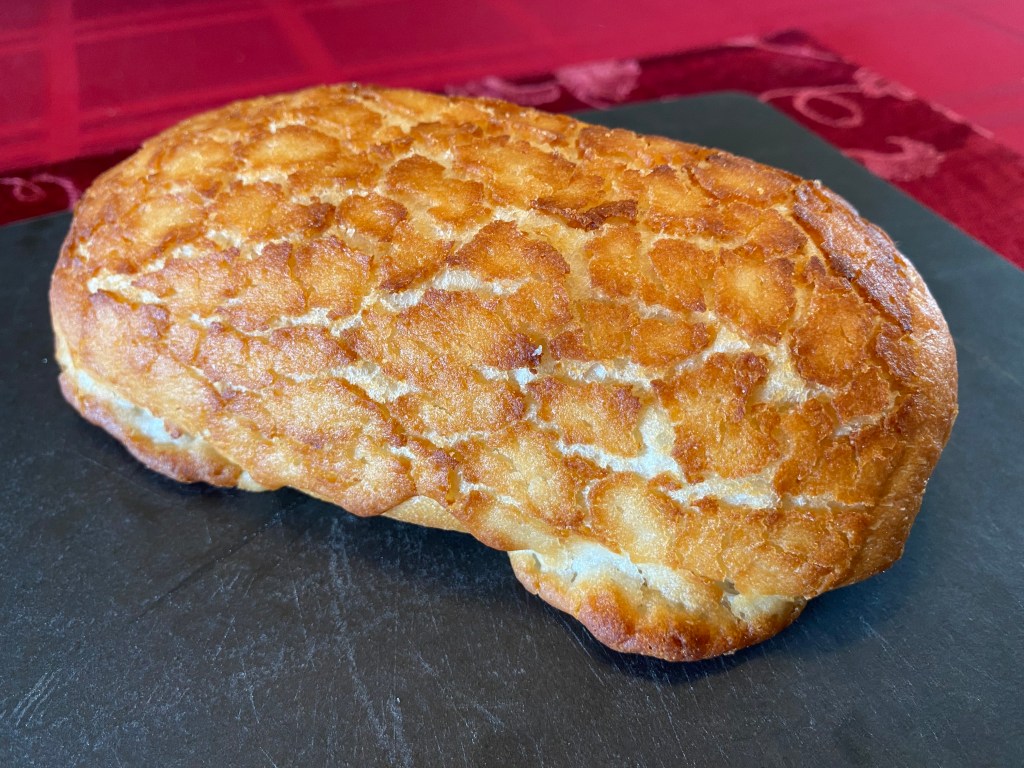
Dutch Crunch rolls begin their lives as a somewhat standard roll, but then a rice flour paste is added to the top and then baked, completely transforming them and creating their unique, crunchy texture and appearance. You know how some people like to put potato chips inside their sandwiches because they like that “crunch?” Well, here, we’ve already baked that crunch into the bread! To me, these were SANDWICHES growing up, and this combo has been my go-to comfort sandwich ever since.
I’ve chosen my all-time Bay Area all star lineup for this sandwich’s ingredients. I’m starting with a Semifreddi’s (Alameda) Dutch Crunch roll, who also makes a “Sour Batard,” my favorite sourdough loaf. Then it comes to the salami, which is Molinari’s (San Francisco) Italian Dry. They also happen to use Dutch Crunch for their deli sandwiches. Next is Petaluma Gold’s (Petaluma) Mike’s Firehouse Pepper Jack. Their regular Monterey Jack is my favorite Jack of all time. Earthy, grassy and infinitely better than the tasteless paper found in supermarkets that give Monterey Jack a bland name. Then we have Mezzetta brand (Napa Valley) pepperoncini. Mezzetta products were the ONLY brand on the table when it came to olives or pickled peppers at home growing up and at friends’ homes. If you can’t find these brands where you are, don’t worry, just pick out some nice alternatives.
When choosing the tomato, try for a beefsteak and the lettuce has to be iceberg. I tried adding avocado, and you can if you want, but I felt it just got a bit too unwieldy.
There’s no ONE spot you HAVE to get a Dutch Crunch sandwich, as they are sold in most respectable sandwich shops here. Ike’s is a big one that comes to mind, and I’m stealing the essence of their “Dirty Sauce” for my recipe here. This is NOT their sauce, but it’s reminiscent. I remember their first location and they’ve really blown up over the past twenty years. Molinari Delicatessen in North Beach is a great spot too if you’re ever in town for a real old-school San Francisco experience.
Serving Size: 1 (2 if you want to split) (Double recipe for each sandwich)
- 1 Dutch Crunch Roll
- Italian Dry Salami (about 12 THICK cut slices)
- Pepper Jack Cheese (about 4-5 THIN cut slices)
- 3-4 moderate size Pepperoncini, cut in half
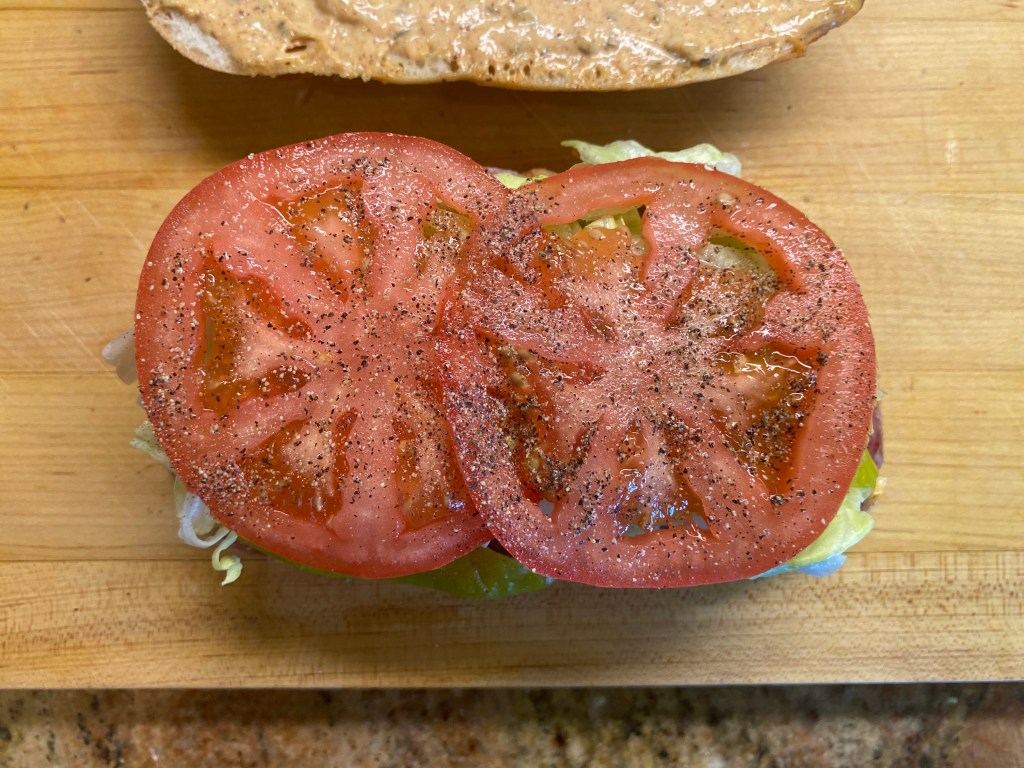
- 2 large slices Beefsteak Tomato
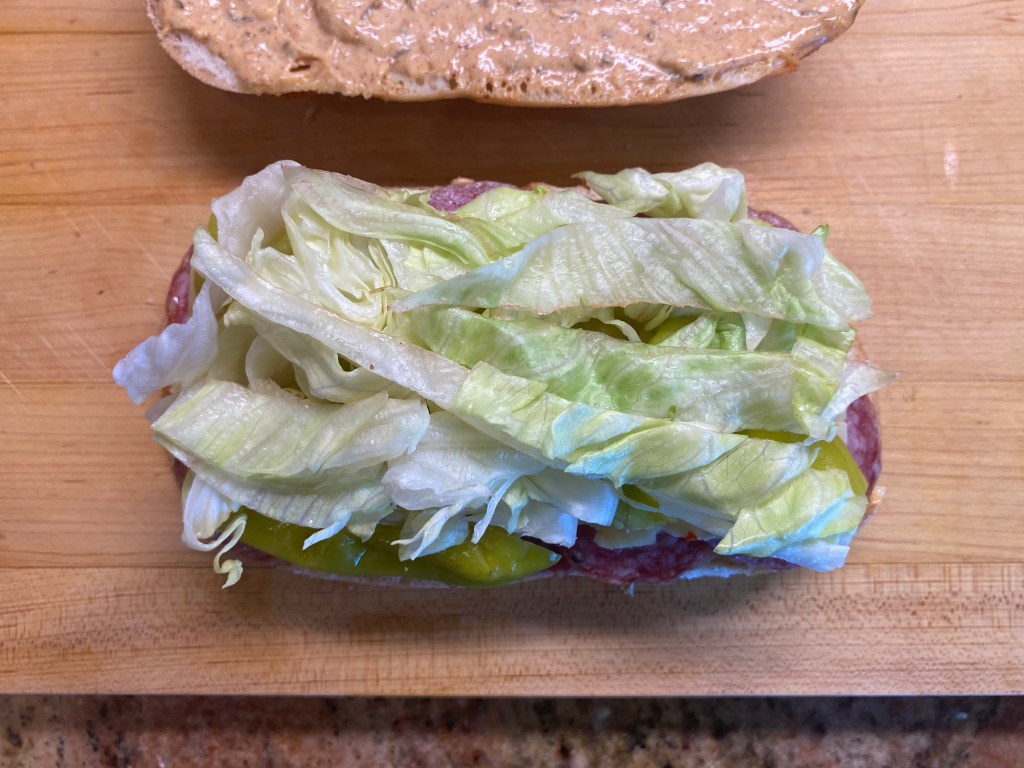
- Iceberg Lettuce
- Sea Salt
- Fresh Ground Black Pepper
Sauce:
- 1/2 Cup Mayonnaise (I use Best Foods. Hellman’s if you’re east of the Rockies)
- 2 Medium Garlic Cloves, minced
- 1/2 tsp. Paprika
- 1/2 tsp. dried Thyme
- 1/2 tsp. Onion Powder
- 1 dash Red Wine Vinegar
- 1/4 tsp. Hot Sauce (I used Tapatio)
- 1/2 tsp. Ground Black Pepper
- 1/4 tsp. Sea Salt
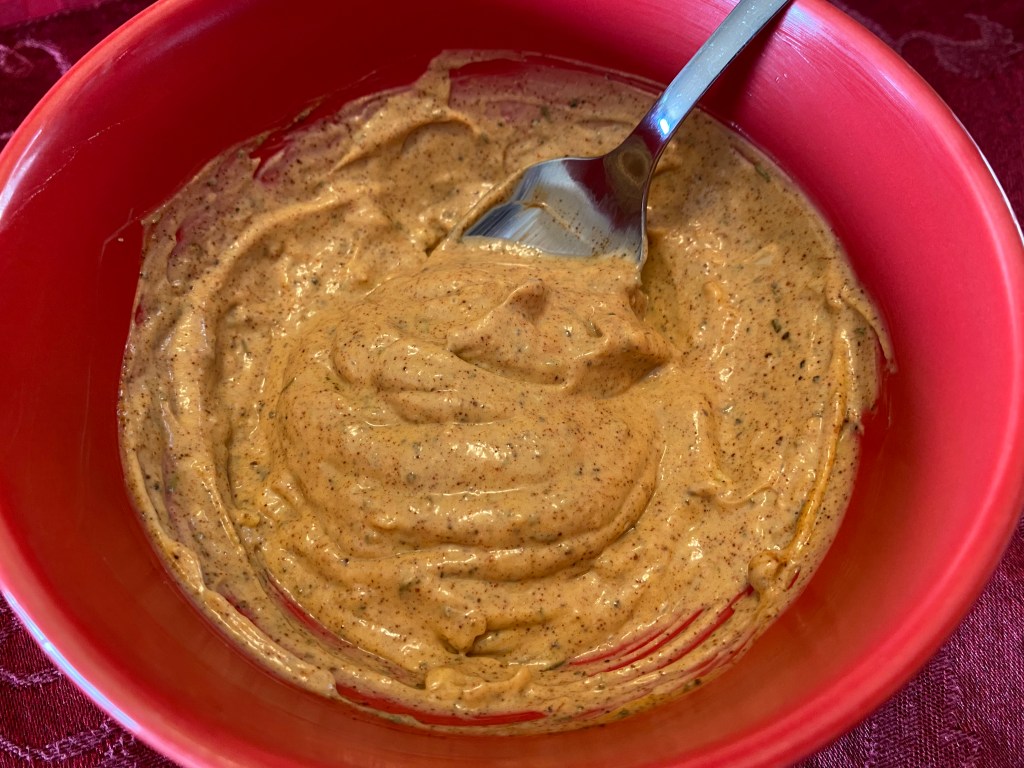
1.) First, lets make the sauce. Above, I mentioned this is akin to Ike’s “Dirty Sauce,” so it’s just an approximation. There isn’t a reliable recipe online for it, so this is just what I’m going with. Don’t complain to me that, “ooohhh, this is sooo not authentic…it doesn’t taste like Ike’s…” Well, you know what? Just eat it, it’s good.
Mince up your garlic. Measure out your mayo and marry those two together meticulously in a small bowl for mixing. Add the paprika, thyme, onion powder, vinegar, hot sauce, salt and pepper, and mix it all to your heart’s content. See? That was pretty darn easy. Let that sit at least throughout the sandwich making process, but if you make it hours in advance, it just gets better with age.
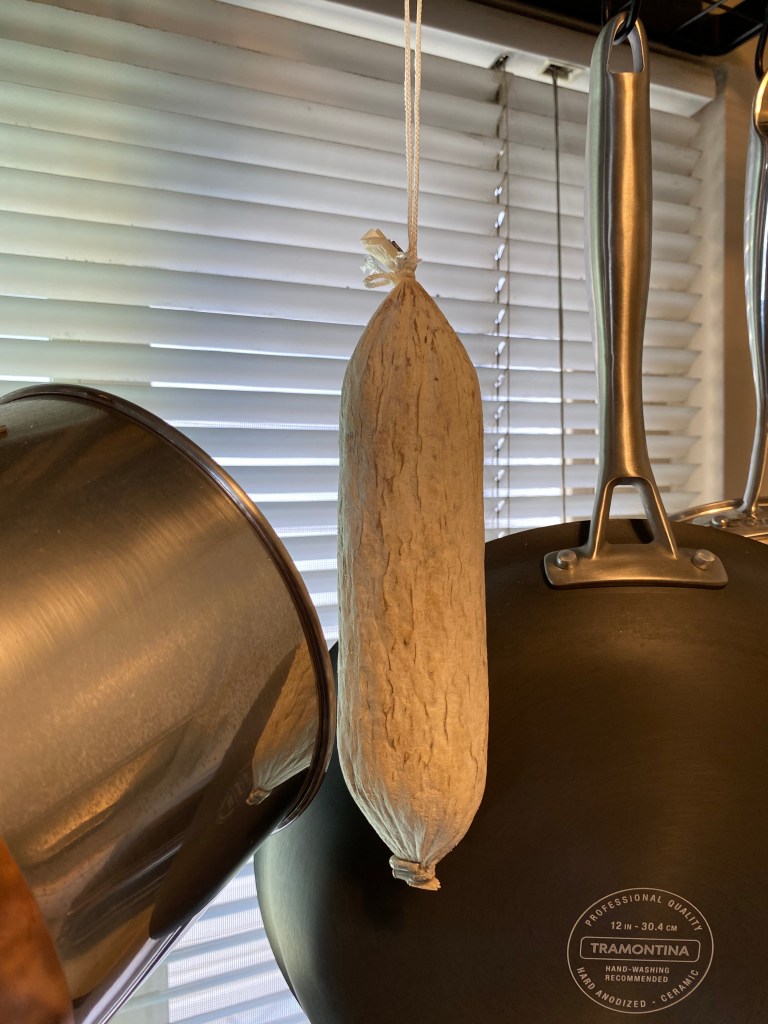
2.) Preheat your oven/toaster oven to 350 F. Now, let’s gather all of the usual suspects. I chose Italian Dry Salami in its whole form so that I can cut it a bit thicker than what you usually find in pre-sliced packages. It’s also a bit more fresh in flavor and texture.

Next, let’s cut the cheese! Get your slices as thin as possible so they can melt a bit. I like to use a Norwegian cheese slicer (an Ostehovel, because I’m fancy) to get very thin slices, but use what you got. Slice your tomato, lettuce, and pepperoncini and slice your roll in half lengthwise.

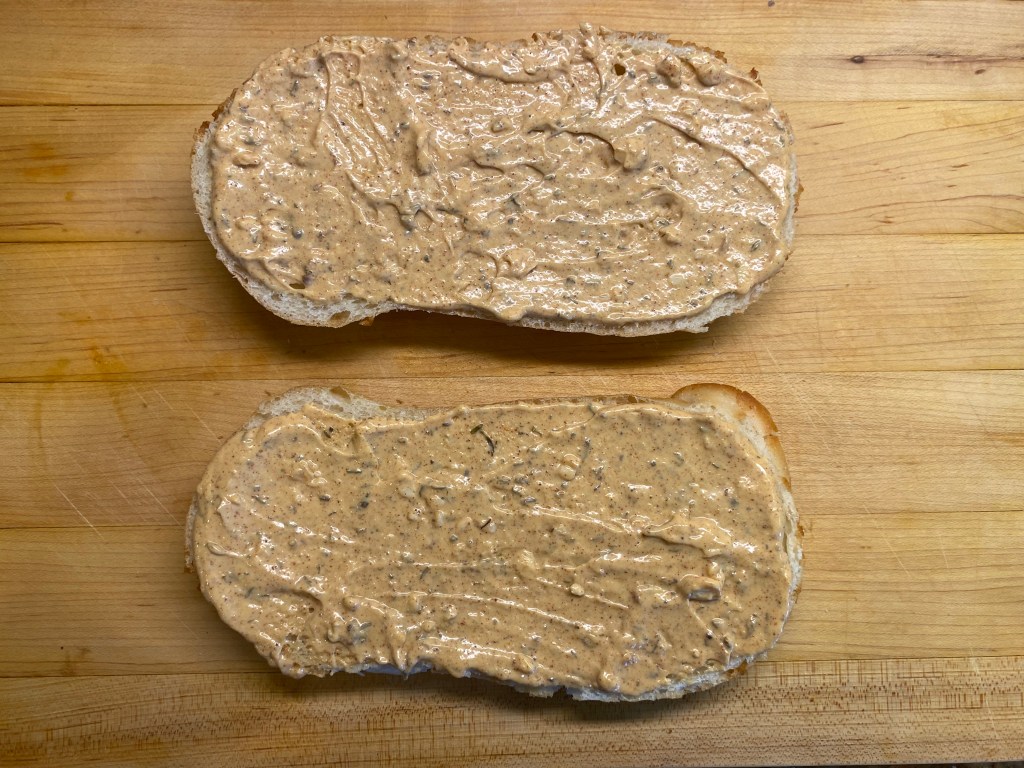
3.) Assemble everything together! First the spread on both sides. Then, on one side only – the meat, the cheese, the peppers, the lettuce, and lastly, the tomatoes, in that order. Sprinkle a little salt and pepper on top of the tomato to really finish off the whole thing.


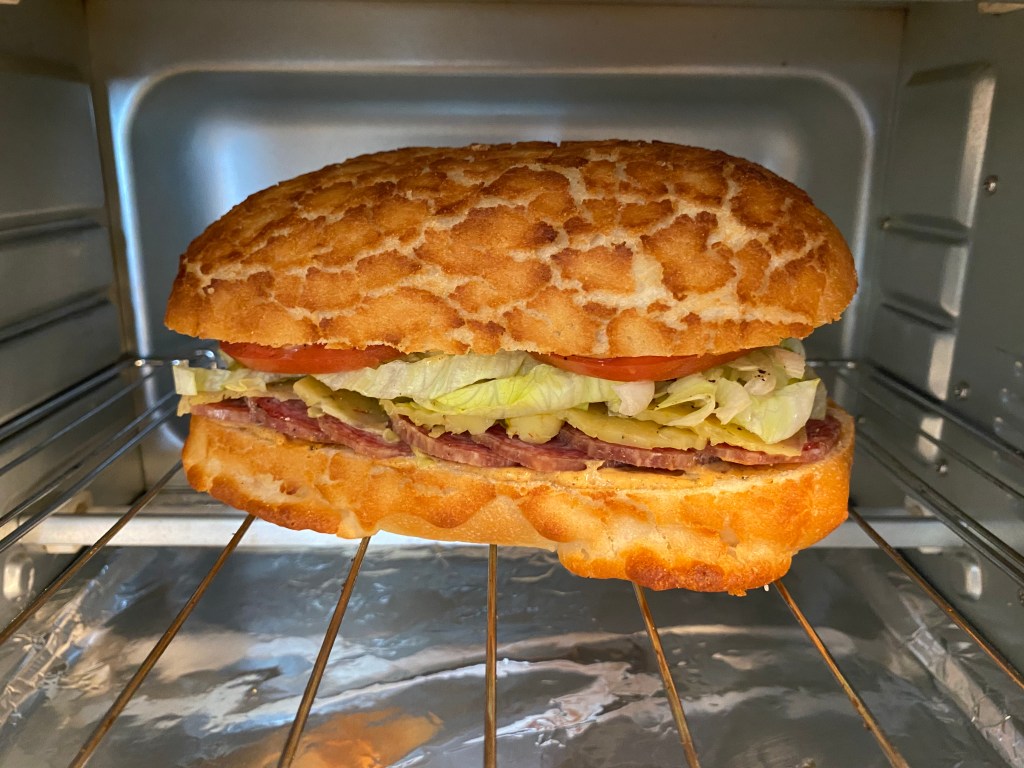
4.) Pop that dude in the oven that’s now comfortably at 350 F and let it do it’s thing for 8 minutes. You’ll want to watch it a bit to make sure the bread doesn’t blacken and the cheese just starts to melt in there.
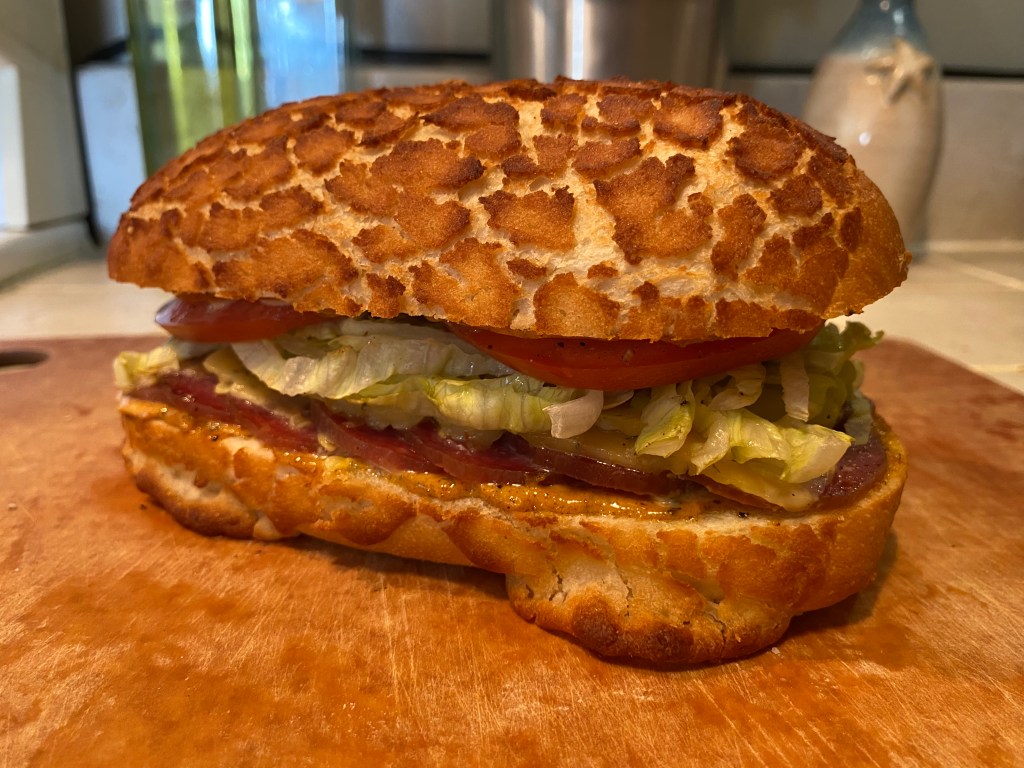
5.) Take it out and let it cool for a minute. Cut it in half (for a better controlled mouth delivery), and maybe even share it with someone. Or don’t, you greedy cretin. Either way, bring some napkins. And use your extra sauce to dip. This one gets messy.


Leave a comment