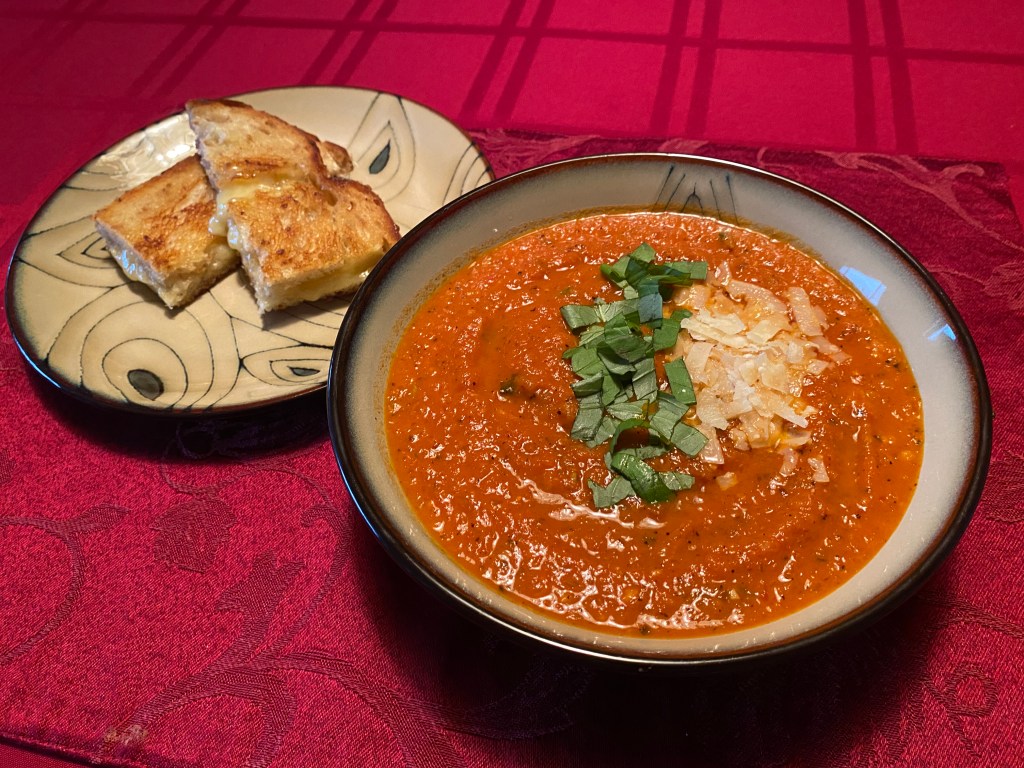
Thick & Chunky Fire-Roasted Tomato Soup and Grilled Cheese – AKA: Just Like Your Mom Used to Make…But Better!

My mom tells a story about visiting her friend Iris’s house growing up and how her mom used to make them grilled cheese sandwiches and tomato soup when the weather was cooler. In her retelling, the joy of two simple, warm things put together on a cold afternoon brings back such fond memories for her. They used Campbell’s soup and American cheese. Now, nothing’s wrong with either of those, they’ve got their places. But, now that we’re grown, it’s time for some more gourmet ingredients.
I love fall and winter recipes. I make them when its warm out, I don’t care. Also, I live in San Francisco. People have a romantic idea of California as a whole having a year-long summer, but here, up north, things ain’t so. There have been countless times I’ve come across German tourists in shorts and t-shirts walking around here in June, complaining about how cold it was and how they only brought these clothes since they were coming to California in summer. Check the weather forecast next time, folks. In any case, feel free to make this combo in any weather, it’s good all year round in my opinion.
Back to the present, at the time of writing, it’s January, and we are indeed having a little cold snap, so what better than to try out one of my mom’s favorite memories, but to put my own little seditious spin on things.
I could have divided this into two separate recipes, but they just go too well together. Also, I like big, flavorful stuff. My tomato soup isn’t going to be thin and plain, it’s going to have chunky chunks and hearty roasted flavors. I also want some high-altitude rich and buttery alpine cheesy goodness to dip into it. So buckle up for some flavor and texture, this is going to be a chunky ride.
Servings: About 8…or 4 Mes
Soup:
- 2 – 28 oz. canned Fire Roasted, Crushed Tomatoes
- 2 medium Yellow Onions, diced
- 6 cloves Garlic, minced
- 2 cups Chicken Stock
- 4 oz. Heavy Cream
- 4 oz. Butter, salted
- 1/2 cup Parmigiano Reggiano Cheese
- 1 tsp. Paprika
- 1/2 tsp. White Sugar
- 3/4 cup fresh Basil, chopped
- 1/2 tsp. Sea Salt + more to taste
- 1/2 tsp. Black Pepper + more to taste
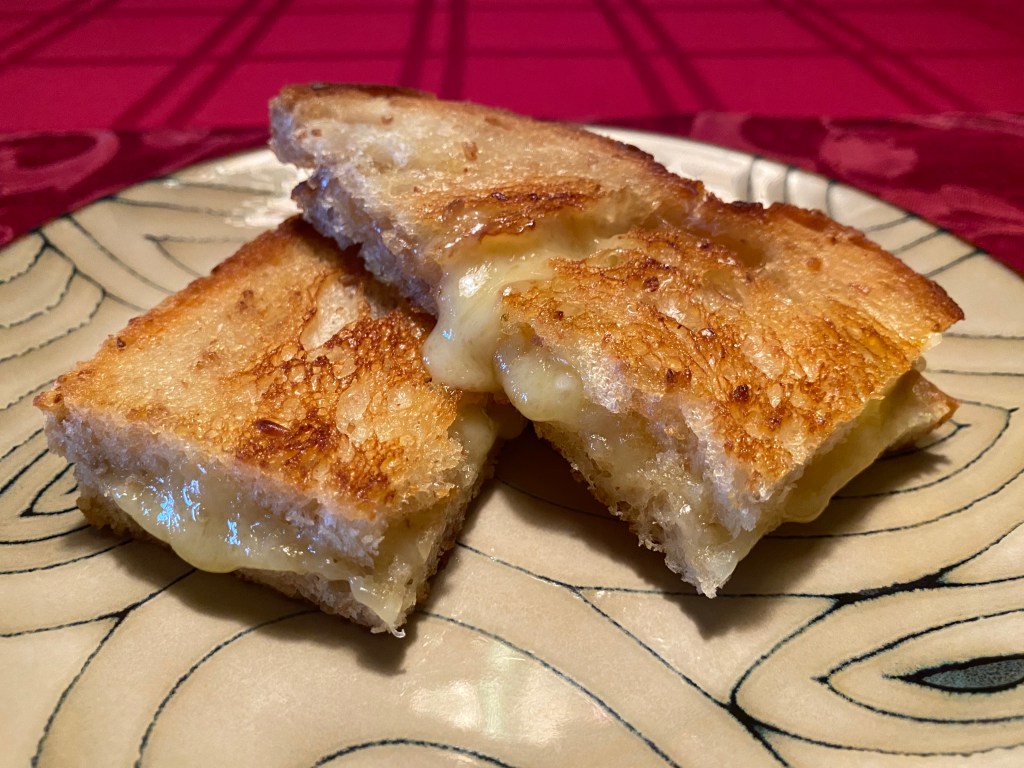
Grilled Cheese:
- Hearty Bread (Sourdough, Rye, something substantial)
- Alpine Cheese (Gruyere, Emmental, Jarlsberg, any kind of “Swiss” cheese)
- More Butter

1.) We’re going to begin by dicing up some onions, as most recipes I like to make seem to start with. Many recipes for tomato soup will tell you to make sure you use a stainless pot because other materials may lend foul flavors to tomatoes, so let’s follow suit. Take at least a 5 quart stainless pot and heat on medium. Dice up your onions. Bring your pot up to medium-high heat on the stovetop. Add all your butter and onions and cook for 5-6 minutes, stirring occasionally, until they are browned. Add the garlic in for a minute, making sure that when it becomes fragrant, you move on to the next step.
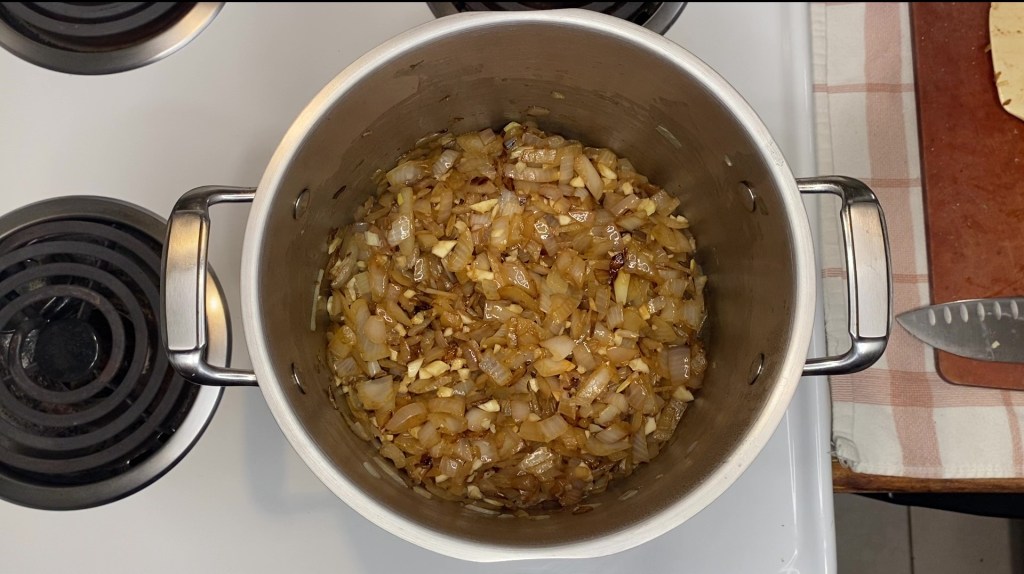
(Important Side Note – I initially wanted to simply soften my onions up like I do for other soups and stews. My stovetop is grade-F doodoo and tends to crank itself up to the blistering temperature of Helios, the sun god himself, whenever it damn pleases. When making this recipe before writing this, my cursed stove did exactly that and browned my onions. I decided to keep them that way and I believe it adds more depth to the recipe. You can go with the slow cooked translucent, softened route to play it safe, but I really do think the browned onions are the way to go.)
2.) Next are the stars of the show, the tomatoes. Normally, I go with canned whole tomatoes and crush them myself for better control of texture and flavor. I wanted to do that, but since I wanted to go with fire-roasted tomatoes, the pre-crushed ones seem to be far more readily available in canned form, and I decided to bend the knee out of sheer complacency. If your store has the whole fire-roasted ones, then by all means, use those and add the step of hand crushing them yourself. Pour those in and stir it all together.
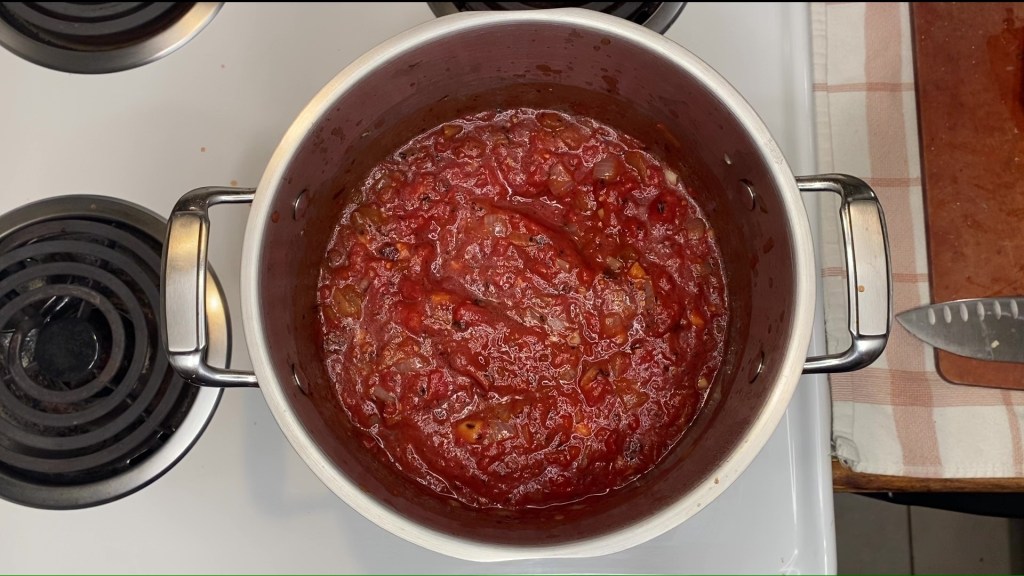
I mix my own stock using Better than Bouillon concentrate (not sponsored, but hit me up folks…) because I find they are more rich than boxed stocks, but those will do as well. Pour that into the pot and stir. This is also the time to add your salt, pepper, sugar, and paprika, so please do so. Cover it and bring it to a low boil, and then reduce the heat again to let it simmer for 10 minutes for everything to incorporate. (If you don’t cover it, you’ll find fun little (and large) red dots all over your stovetop very soon…)
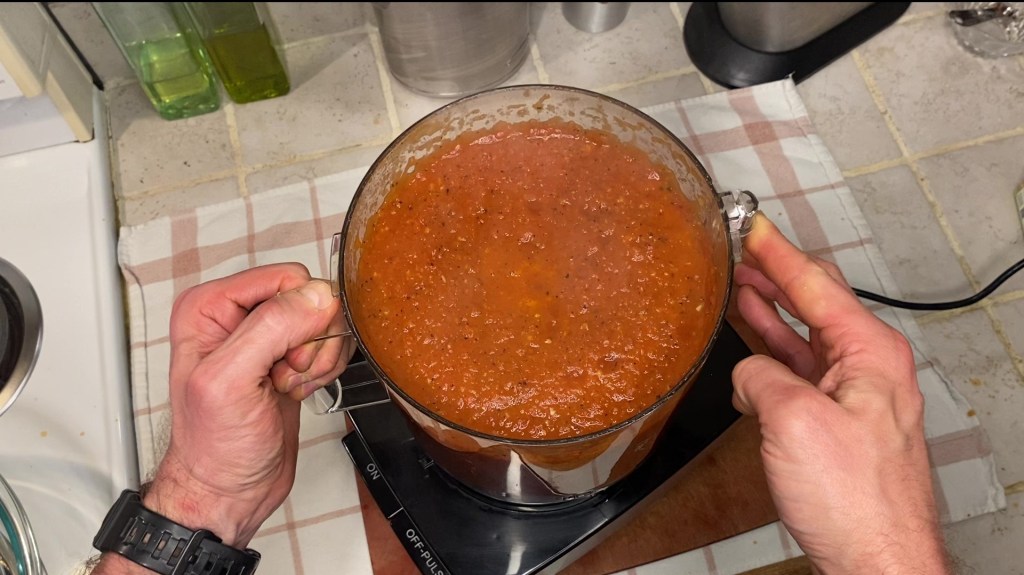
3.) If you want a REAL chunky soup, you can leave this step out, but, especially if you went the whole tomato route, this will be quite necessary. Remove the pot from the heat for about 10 minutes to let it cool just a little. The easiest way to complete this step is by using an immersion blender, so immerse your immersion blender and get blending immersively, but only just a little blended, because the less blended, the better.
Guess what, I don’t have an immersion blender, and neither do you. So this is where the potential for calamity (excellent 80’s hard rock album name) intensifies, so be on your best behavior here. Carefully transfer your slightly cooled soup to either a blender or food processor in batches and pulse the soup to your desired consistency. I went with a medium-coarse grind, in coffee terms, which retains the chunk, but gives a real mouth-pleasing smoothness in texture at the same time. In other words, I just held down the pulse button a few times. Put your slightly blended batches into a large mixing bowl until complete, then transfer back into the pot to continue cooking.
4.) Warm the soup back on medium heat to get a little simmer, then add your Parmigiano and cream and stir. I like buying large blocks of Parmigiano and just having one on hand for any occasion so I may shred some at my leisure. Grating and shredding your own cheese is highly recommended for any recipe since it retains the most flavor and doesn’t have any preservatives added, but pre-shredded packages for convenience will work too. Once added, cover to bring back to a simmer.

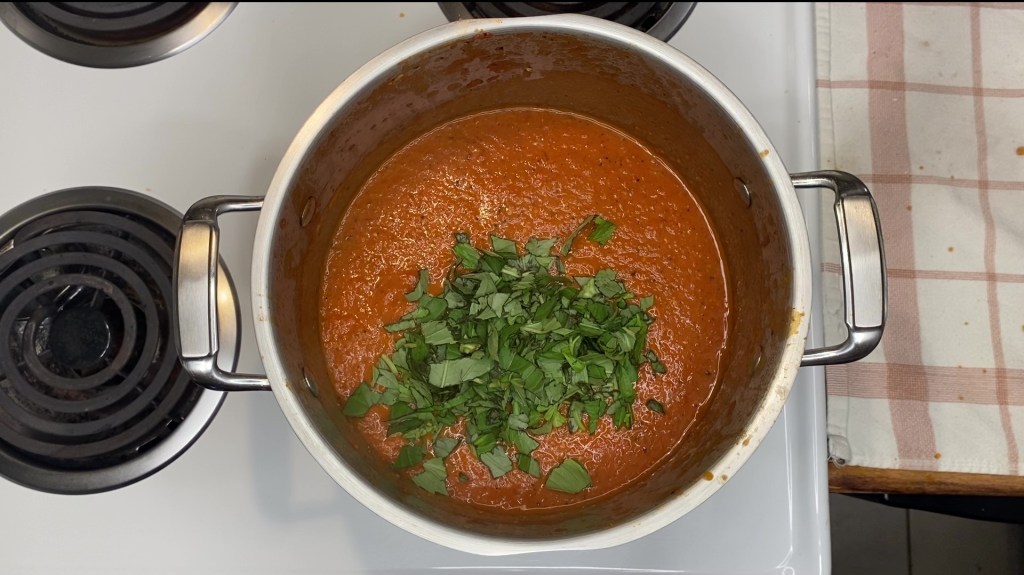
We’re down the home stretch, so add your chopped basil and incorporate to cross that finish line. Adding the basil near the end ensures it doesn’t cook too much because the fresh basil will lose its texture and flavor if left to simmer for too long. So congrats, you’re done with the soup, and now it’s time to move on to the grilled cheese, so take your soup off the heat, cover, and set aside.
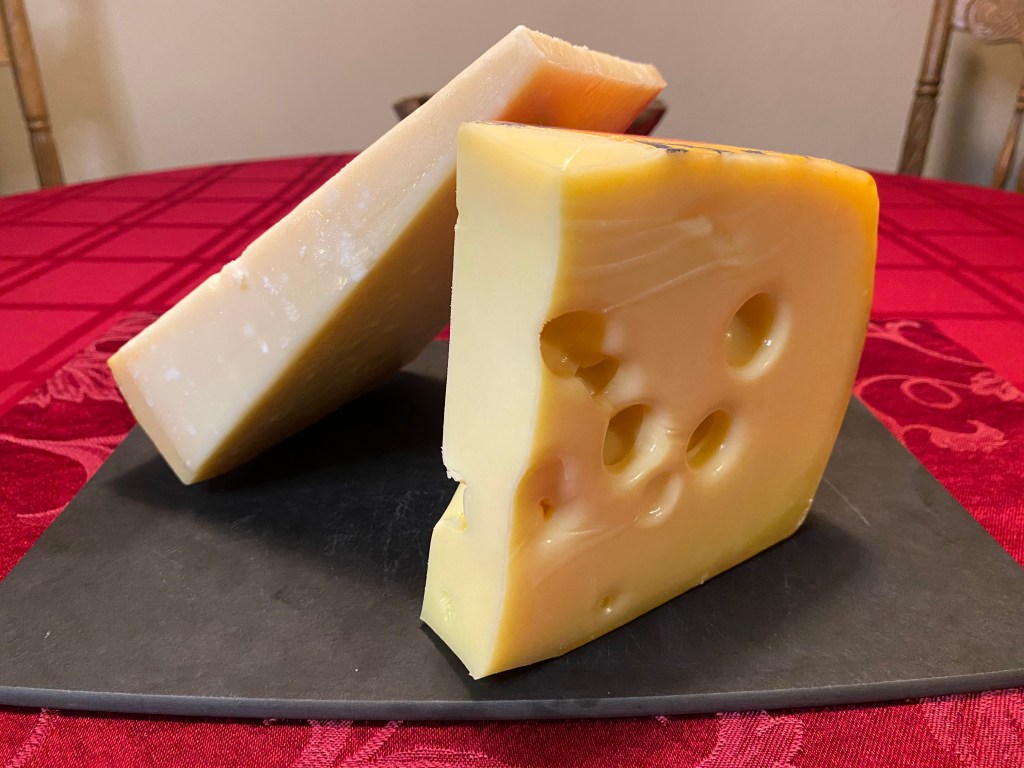
5.) Thinly slice a few slices of your preferred alpine cheese. I used Jarlsberg for this one, which even though it’s Norwegian, was greatly inspired by Swiss style cheeses. It melts very nicely and is perfect for what we’re doing. Plus, they sell them in giant wedges at Costco, so I can mess up as many sandwiches as I want just to get the perfect photos for this freakin’ recipe!
To continue with the Norwegian theme, I use an “Ostehøvel” for what I think create the perfect width of a slice for melting. This is a slicer created in Norway and used in most of those cold, snowy countries up there. They do love their cheese, so I defer to them.
Turn your oven on to bake at 350 F. Bring out a stainless 10″ or 12″ pan or a cast iron pan or any that is rated to go into that 350 F oven because you’ll be putting that bad boy in there!
But first, that pan is going to be warmed on a stovetop burner turned to medium. Put a couple slices of butter in there once warmed, but don’t let them brown. Drop some slices of your preferred hearty bread (I used some good ‘ol San Francisco sourdough) and swirl them around to sop up the melted butter. This will allow them to brown evenly. Once you get a nice brown on one side, flip ’em over and give them a swirl once again.
Place the cheese slices on one piece of bread and let everything sit there for 1 minute, then put the other slice on top. Let the bottom slice of bread toast for another minute, then flip the whole sandwich to even out the other slice.
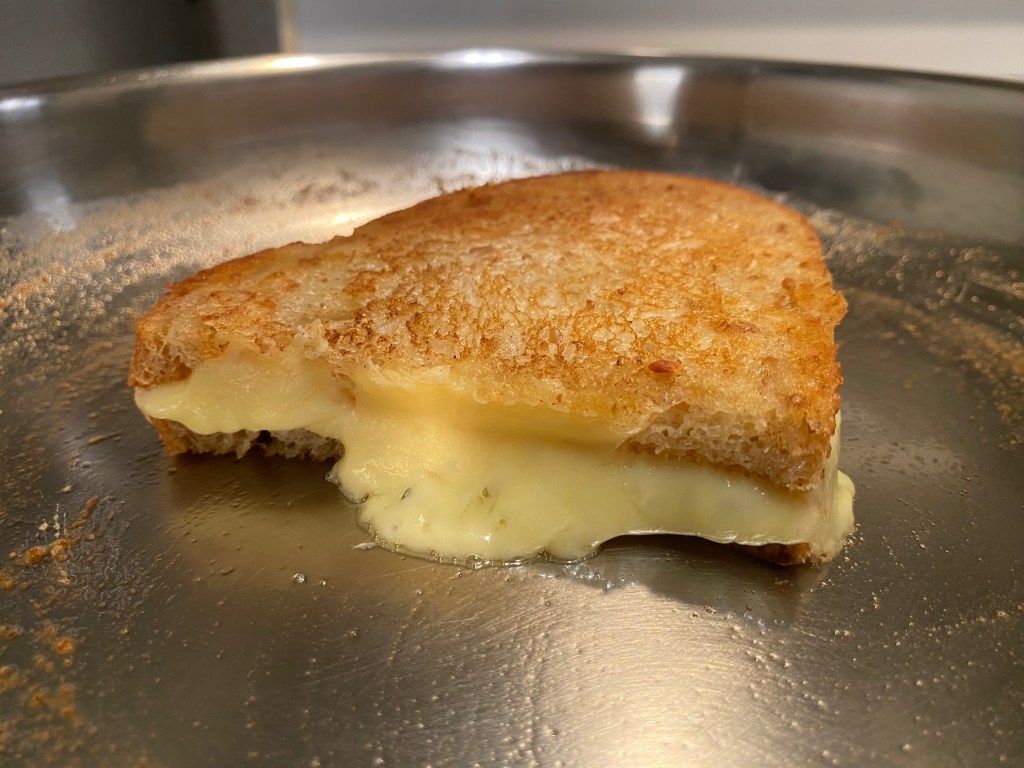
Your oven should be preheated by this point, so place the entire pan in the middle rack for 4 minutes and check to see if your cheese has melted. If it needs another minute or two, let it be and come back.
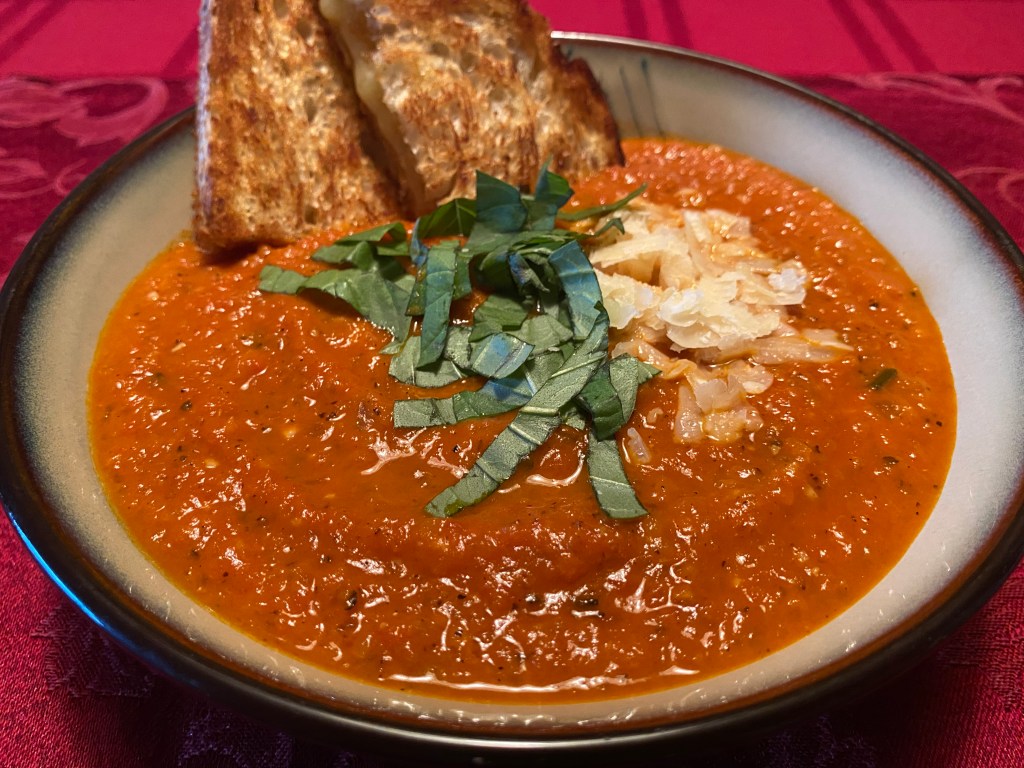
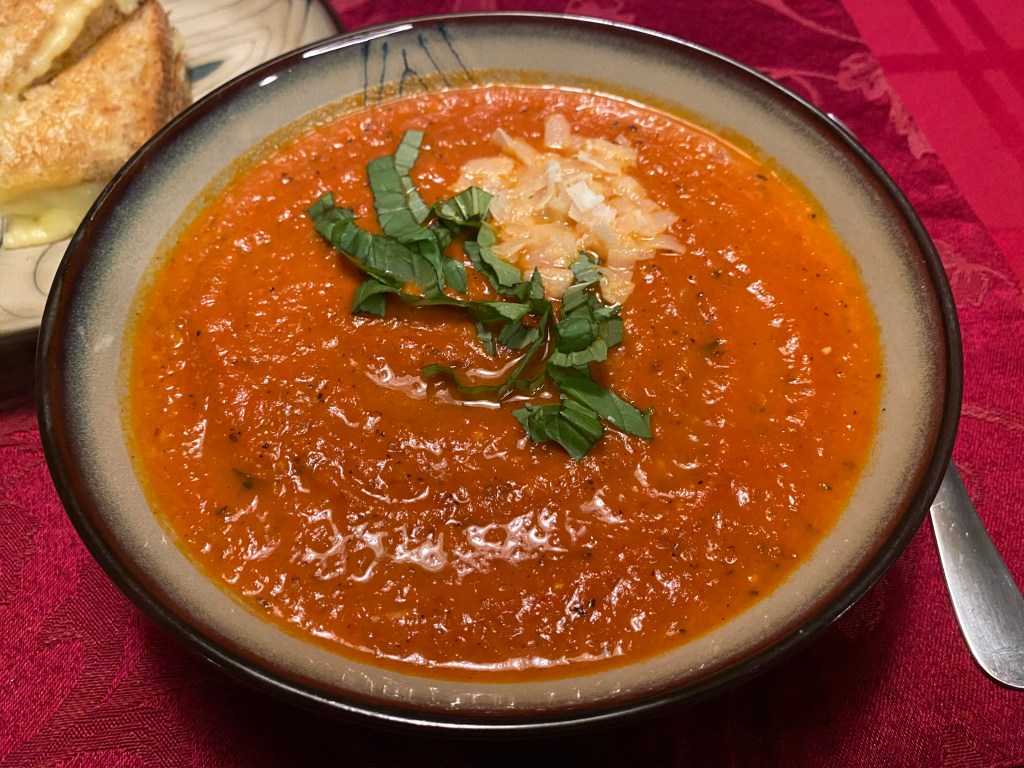
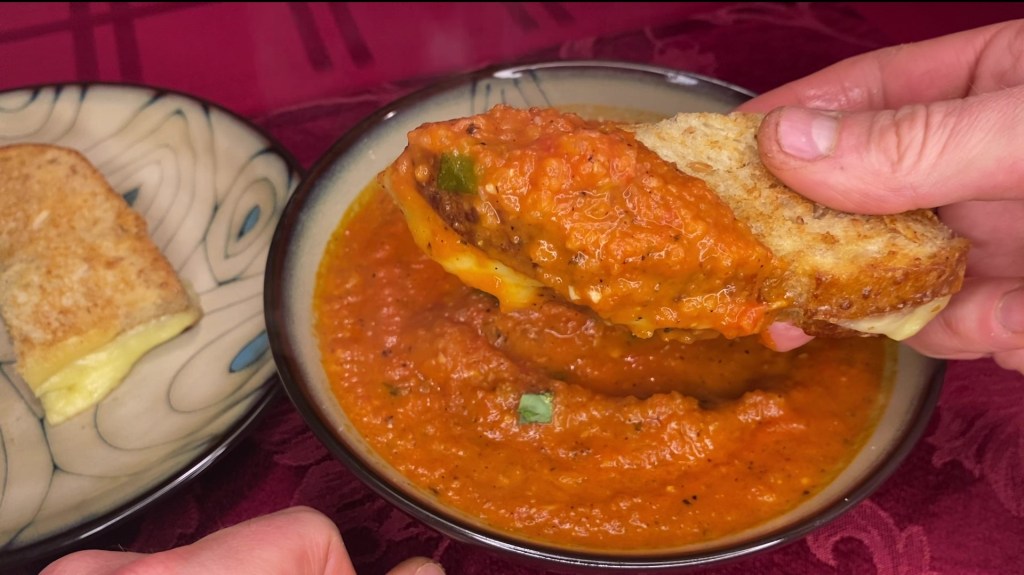
Now it’s time to serve. Ladle some soup into a bowl and plate up your grilled cheese. Garnish the soup with a little more chopped basil and shredded Parmigiano. The best part of my mom’s story was when she would dunk the grilled cheese into the soup, so why don’t you give that a try. I think Iris’ mom would approve.

Leave a comment